Monday, September 19, 2011

Upgraded Dry Erase Board

Just a quick post today. We didn't get as much done as we had hoped this weekend because J's dad hurt his back and wasn't able to come help us. Oh well, there is always next weekend.  We did manage to get the garage and sun room cleaned up.  They aren't perfect, but they're a lot better then what they were.

And I finally got a dry erase calendar for the kitchen.  I've been wanting to get one for quite sometime, but just never remembered when I was at the store.  So this last week I was determined to pick one up.  I was sick of writing our weekly menu on a piece of notebook paper and sticking it up on the fridge.  Yes I make out a weekly menu, it helps me determine what I need from the grocery store as well as saves us from the whole, "what do you want for dinner?", "I don't know, what do you want?" dilemma.
   
So I ran to Target, yes I love that store, and picked up a simple dry erase calendar.  It's even magnetic (can't wait to make some fun magnets for it). 

See nothing fancy, just a simple no fuss dry erase board.  They had nicer ones, but were a little expensive for my taste.  This one is 16x 20 (standard picture frame size) and was about $13.  I have been waiting for one to show up at the thrift store, but alas, I grew tired of waiting.

I then headed over to Hobby Lobby because open back frames were 50% off.  But even at 50% off, I would be paying around $30 for a frame.  And this was supposed to be a cheap project, under 20 bucks.  So up to the thrift store I went.  And low and behold there was a great 16x20 frame sitting there.  It was a pretty nice frame and had a professionally matted pig print in it (yes I still have the print, no I'm not sure if I'll use it).  And best of all, it was $6.99.  God I love the thrift store.  Normally I paint my frames I get from the thrift store, but not this one.  It's a really nice frame.


And here it is.  I love how simple (and cheap) this project was, but how useful it is.  I need to make some cute magnets to go with it and a DIY pen and eraser holder, but so far it's been really useful.  I can put our appointments, band gigs, art shows, etc up there as well as things that need to get done around the house (like patching the large hole that is in the wall were we took out the built in china hutch).  Simple, useful, cheap, the perfect DIY project.  

And I'm off to work on our next DIY project.  Well if I can drag myself away from the computer.  Between StumbleUpon and Pinterest, I'm having difficulties.  They are both so great for finding new ideas and projects to work on.  Well the first step is to admit you have a problem, right?!? :-)      

Thursday, September 15, 2011

Kitchen Update

Phew, it's been a while since I last updated this (and my other blog).  But we've been busy with the kitchen since last time.

Here is what we have so far.
Not bad, right?  The upper cabinets are done (sort of, more on that later), the floor is finished, and the walls and ceiling are painted. Looks pretty good if you ask me.  And there is even a little pug admiring how nice everything looks.

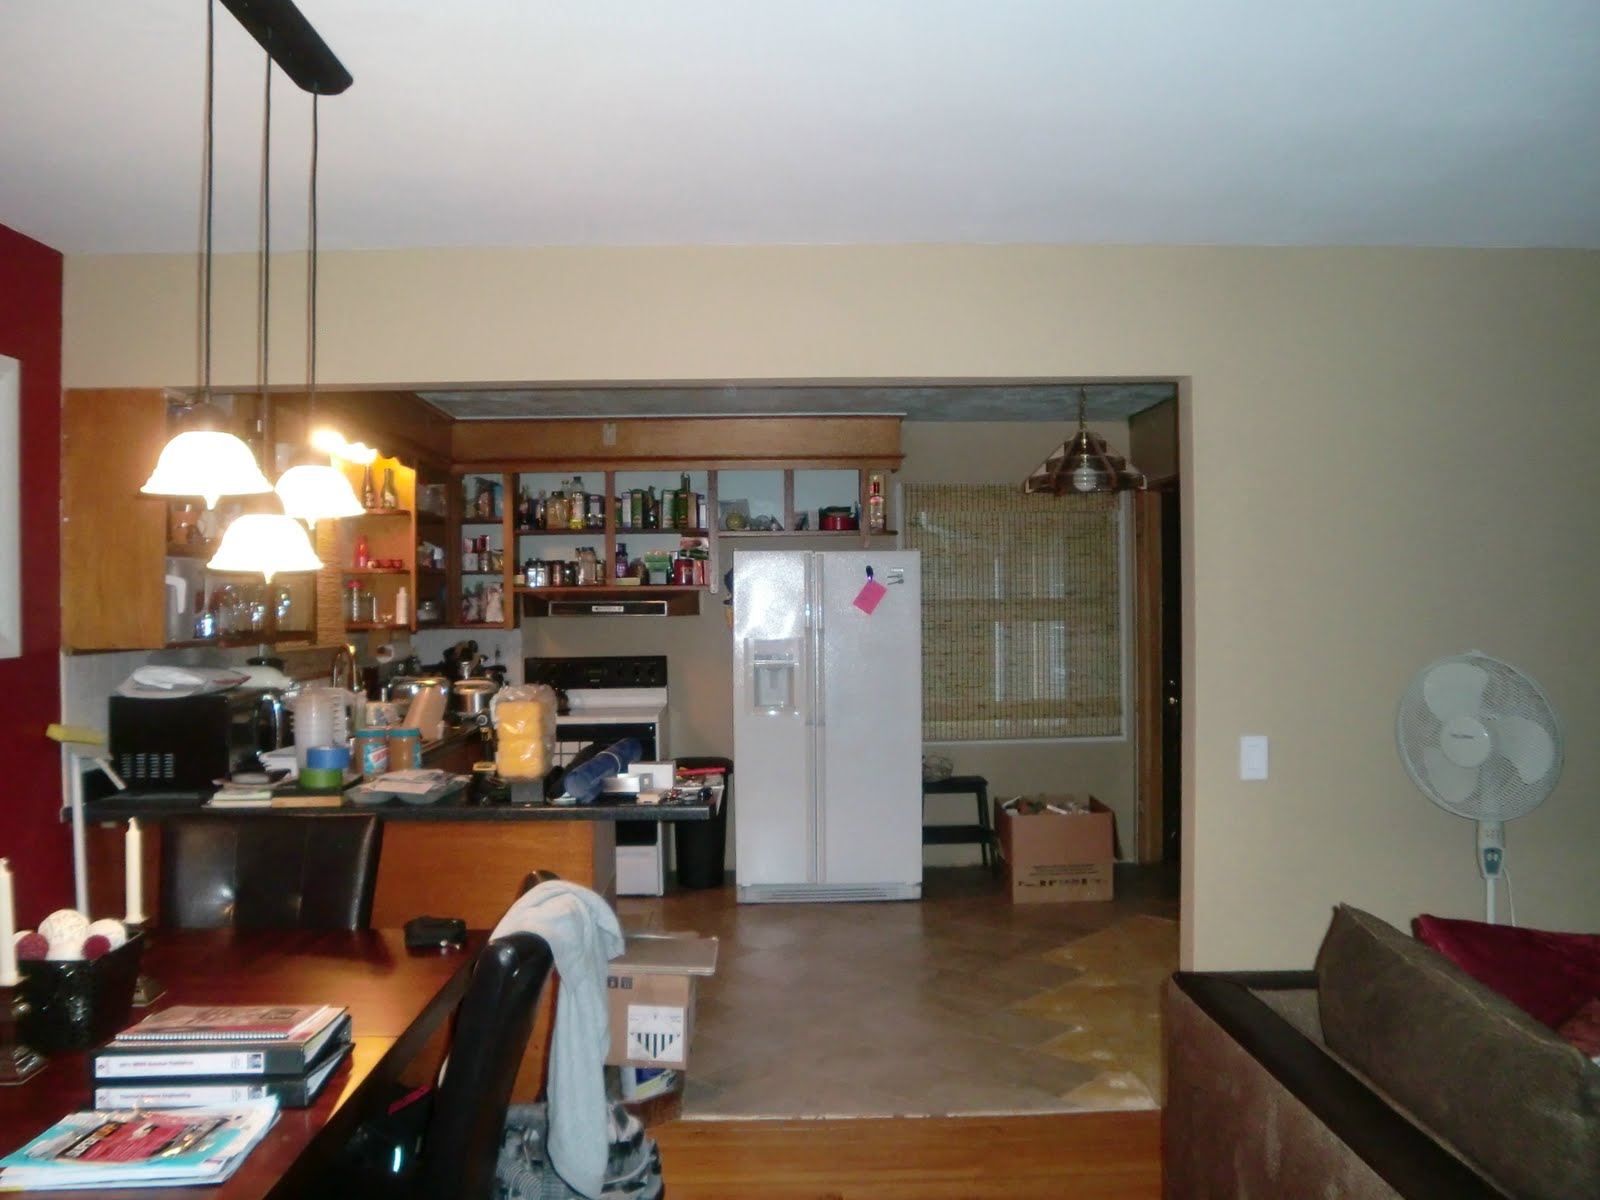
Here's what is it looked like when we first bought the house.


I told you it was a big difference.  The cheap floor is gone, the cabinet is gone, the cabinets are stained darker, the walls are not blue, the doorway is larger, and the hole is gone.  It's looking good so far.

But there is plenty that still needs to be done.

For one, this!  The cabinets are the original built in place ones, so when we took down the one blocking the view from the kitchen to the living room, we were left with this.  We saved some of the original wood, so we will be able to patch and it, we just haven't gotten around to it yet.  I'm hoping that project is coming soon.

We would also like to get matching appliances.  The current refrigerator is a bit to big for the space and the stove is a bit to small for the space.  So we're looking at moving the fridge to the other wall (perfect triangle set up for the kitchen) and then getting a larger, gas, stove.  We discovered that there is already a gas line in the kitchen, so that saves us the hassle of having to have one installed, yay.  So if anyone in the Madison area is looking to buy some appliances, let me know, we have a fridge, stove, and dishwasher we're looking to get rid of.  ;-)

We also have a little bit of trim left to put up.  Crown molding as well as trim between the wood wall color.  As I said before our cabinets are the built in place kind, so they go all the way to the ceiling.  So I took down the trim meant for our plate collection (I know what will we do with all of our plates), and painted (and textured) the upper half to look like the walls.  You would never know that there is oak under the paint when looking at them.  So we're going to add half round between the two to make it look a little more finished.  I can't wait to do that, maybe this weekend.  And get that crown molding in.

And as you can see the bottom cabinets still need to be sanded and stained as well as the side of the upper cabinets.  But I am so much more happy with the kitchen now then I was when we first moved in.  I never hated the kitchen, but now it's becoming something I love.  And as soon as we get a gas stove, you won't be able to get me out of the kitchen. 

Tuesday, August 23, 2011

Kitchen Remodel - Ceiling

Our Kitchen remodel is coming along. It's slow going, but it's still moving ahead, which is the important part. I have the upper cabinets all stained and ready for poly. This took a little bit longer then planned, but it was a learning process. I think I've got down gel staining and I've ready to take on the rest of the cabinets. That's this weeks project.

Over the weekend though, I finally got around to painting the kitchen ceiling.  Now it's pretty hard to see in this picture, but our kitchen was blue (big surprise there since 90% of the rooms in the house were blue).  Now I'm all for a painted ceiling, but I'm trying to brighten up the kitchen as much as possible.  We don't get a ton of light in the kitchen, so it needs all the help it can get.


So cue the white ceiling.  I know, I know, a boring white ceiling, but I think it will definitely work.  This is after coat one of the white.  It needed two coats to cover up the blue.  It's still wet in this picture, so that's what all the reflective glossiness (is that a word) is.  And another reason why it got a make over.  I seems like flat paint and gloss paints were the previous owners preference.  Now both have their place, but I'm just not a fan of a room painted in gloss.  It's just too much.


 Ahh, that's much better.  A nice crisp white ceiling (again, it's still wet).  I might change it up a bit when we start putting in the crown molding, go with a nice warm color to contrast with the white molding, but for now it really brightens up the room.  There is plenty more that needs to be done, but it's smaller things that can be done over the course of the next few weeks.   


I can't wait for it to be done.  It already looks so different in there, so much more updated, so much more our style.  I'll continue with the latte color on the walls and white trim.  Then it's back-splash time.  Glass tile, stainless tile, or ceramic tile?!?!  Decisions, decisions.  Oh and then new lighting.  I can't wait for new lighting.  :-)

Thursday, August 11, 2011

Kitchen Redo - Almost There???


Ugh, what a crappy picture.  It's sort of embarrassing to show off our kitchen when the house is that big of a mess, but that's how renovating works.  Look at how different our home looks when you walk in the front door. A total change from only a month ago.    

Here's a reminder if you don't remember what it looked like before we started this "much larger then expected" project.  It looks so much better then this.  So much more open.

We still have plenty to do, but we're on our way.  The lighting needs to be done; we're thinking of putting can lights in and then some nice industrial looking hanging lights over the sink.  I can't wait to get the lighting in, yay!


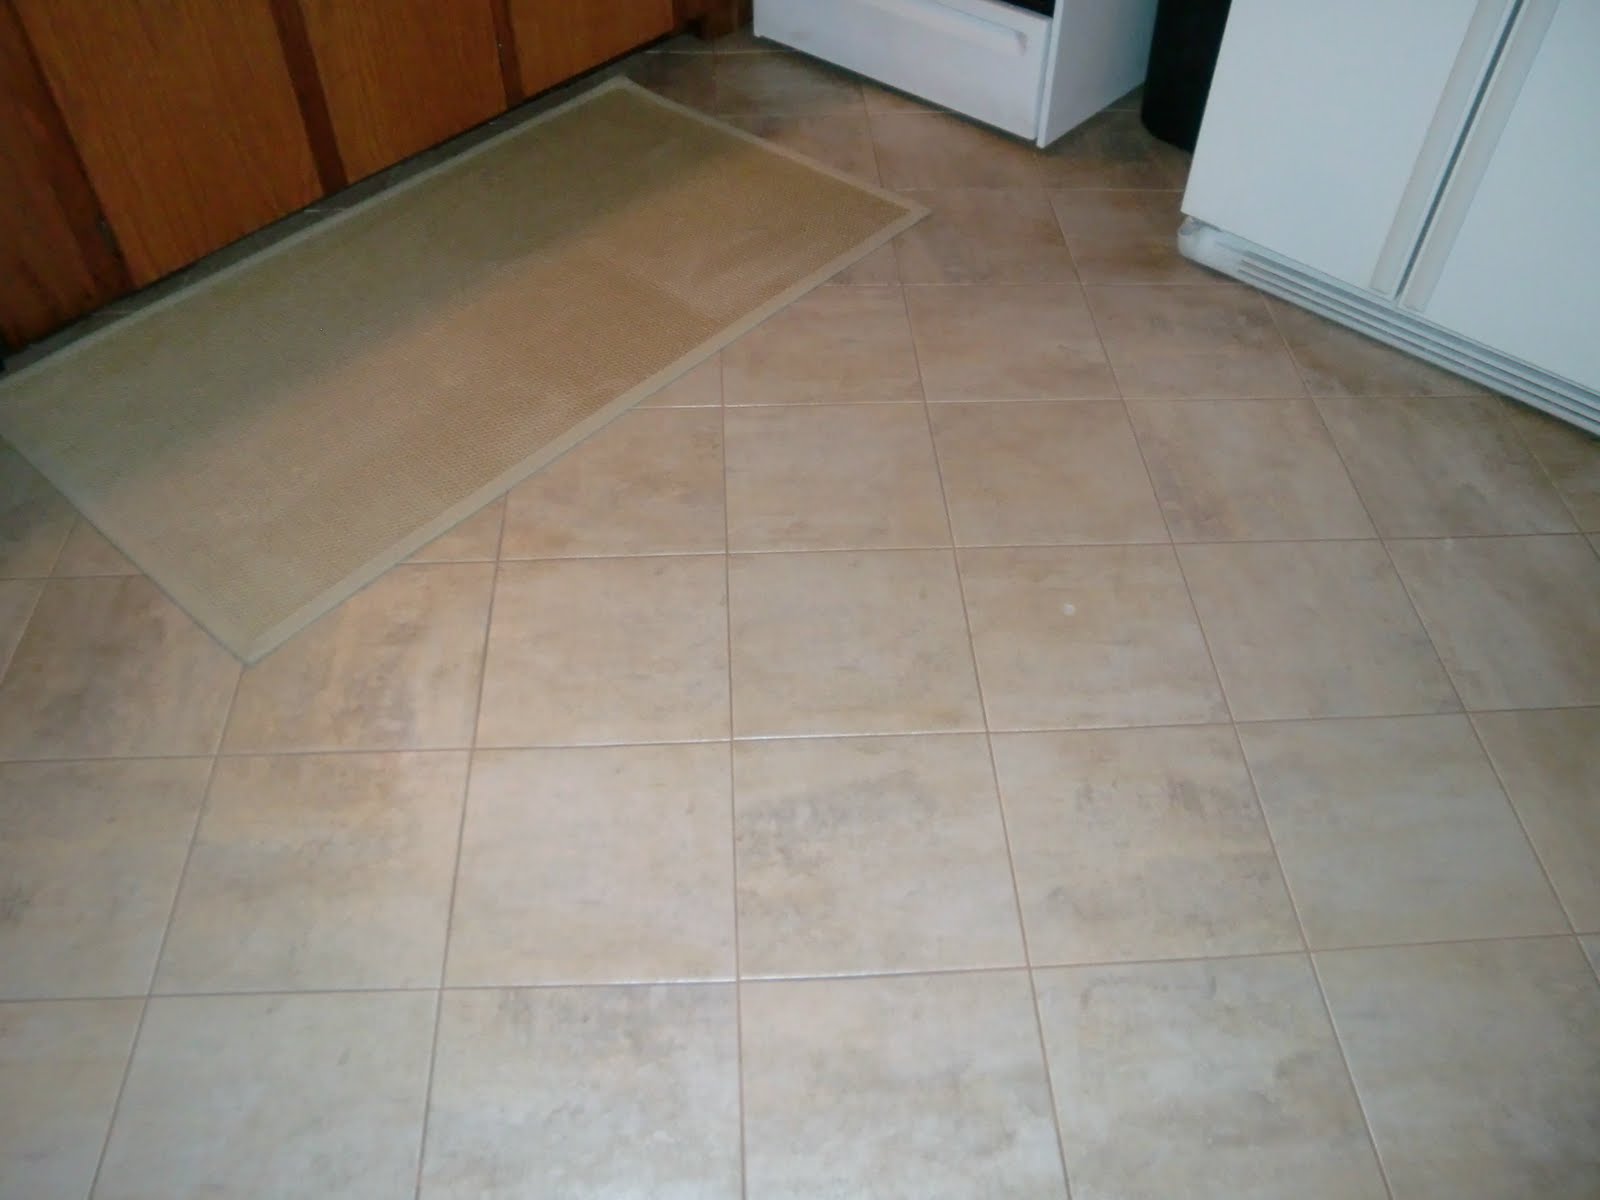
And look at that pretty tiled floor.  I'm really loving this groutable vinyl tile.  Lets hope it stands up to the test of time. It has really helped in brightening the room up.  And the color is so pretty.  I'm in love.


But I do have to say the flexible grout was interesting to use.  It was very dry and sandy, but it was the product the tile manufacture recommended, so that's what we used.  We had to modify our grout applying technique a little bit, but we managed.  We also let the tile sit for 48 hour before using it or moving the appliances back, even if the bucket said 24.  We just wanted to be sure.      

Now we just need to finish tiling the corner of the kitchen, and I need to get my but going on staining the cabinets.  I don't want to stare at the inside of the cabinets forever.  The weather is supposed to be in the 70s this weekend, so perfect weather for staining, now I just have to convince myself I want to do it. :-)

Thursday, August 4, 2011

A little here, a little there

This is what the outside of our house looked like when we bought it.  Okay, not quite because it was winter when we bought the house, but you get the jist. 

You can see that our house doesn't have the most desirable curb appeal.  It's not horrible, but it's not that great either.  There is zero landscaping, the tree out front is over 70% dead, the lawn is dying, and I hate the front door (plus the color of the house, but that's for another day).  J actually didn't even want to look at this house because of the lack of curb appeal, but I talked him out of it and boy am I glad I did that. 

We've been so busy with the inside of the house, that sometimes we forget about the outside.  We'll tell ourselves things need to be done ever time we see the outside, but then we scurry into our house and enjoy our lovely living room and forget about the front yard once again.

We both decided that no major outside projects would be taking place this year, but I was determined to at least dress up the house a bit, even if my budget was very limited.   


First to go was that tree.  It practically fell apart when we were cutting it down.  It was so rotten and probably diseased.  And I don't want any tree disease spreading to the rest of our plants.  The neighbor across the street even told us it was time for that unsightly tree to go.  Unfortunatly this was as far as we have gotten because the chainsaw crapped out on us and we're waiting for J's uncle to come and help us finish.  Hopefully that will be soon.

 
I planted some "bargain" plants beside those awful stairs (they will be replaced eventually with a nice little front porch).  These were some of the cheapest plants I could find, and most of them cost me less then $1 a plant.  The white fuzzy plants are slowly taking over and the bunnies are eating a lot of the others, but it still looks nicer then before.  I also added our solar lights to give it a little something more.


I then added one of those plastic boarders to the front.  This replaced a boarder of patio blocks turned on their sides.  This drove me nuts and I couldn't wait to rip them out.  Once they had settled, they started to fall over and become uneven.  The plastic's not the most desirable, but it's better then what was there.  I didn't even take a picture of the before because they were so horrible.

We plan on putting in raised beds eventually, so I needed to keep my plants simple and moveable.  The pots in the foreground were picked up at goodwill for under $10 for the set.  Less then $10 for three ceramic pots, awesome.  The larger pots in the background are those resin cheap pots, so if they only last a few seasons, it's okay.  I also snagged some hanging baskets and shepherds hooks at Menards when they were on sale last.  I have some gladiolas planted as well as a bleeding heart plant.  Not really much to look at right now, but it's something.  And ignore the white garbage bin, that's the extra soil for when the tree is taken down.

I picked up some window boxes on a run to Jo-ann's.  I can't wait to put those up.  I'm not sure where yet.  But we got them for 70% off, so we decided that it was too good of a deal to pass up.  We'll find somewhere to put them.  I hope :-)


Okay so it's not much, but it's better then it was before.  Hopefully the tree stump will be removed soon and then in turn, the white trash bin will be long gone.  Then I can figure out if I want my flower boxes up front or on the back porch.  Slowly our house is becoming ours.  :-)